Start your morning off right with a delicious breakfast burrito that’s as easy to make as it is to eat! In this article, we’ll show you how to create the perfect freezer-friendly breakfast burrito every time, filled with scrambled eggs, ham, tomatoes and plenty of cheese. Keep reading to find out how you can make this tasty breakfast recipe in no time!
A freezer-friendly breakfast burrito is the perfect way to start your day. They are easy to make, and you can customize them to your liking. You can add any type of meat, cheese, and veggies that you like. Plus, they are a great grab-and-go option for those mornings when you don’t have time to sit down for a traditional breakfast.
Here are some tips for making the perfect freezer-friendly breakfast burrito:
1. Choose your tortilla wisely. A soft and pliable tortilla will hold all of your ingredients together without falling apart. Look for a whole wheat or multigrain tortilla for added nutrition.
2. Load up on the fillings. A good breakfast burrito should be packed with protein and vegetables to keep you full until lunchtime. Scrambled eggs, diced cooked chicken or turkey, chopped veggies, and shredded cheese are all great options.
3. Don’t forget the sauces. A little bit of hot sauce or salsa can really take your breakfast burrito to the next level. Just be careful not to add too much, or your burrito will be too wet and fall apart.
4. Wrap it up tightly . . . but not too tight! Be sure to wrap your burrito tightly in foil or plastic wrap so that nothing leaks out during the freezing process. But don’t make it too tight, or it will be difficult to eat later on.
There are a few reasons why you should try this recipe for freezer-friendly breakfast burritos. First, they’re a great way to save time in the morning by having a healthy breakfast already prepared. Second, they’re perfect for those on the go who need a quick and easy breakfast option. And third, they’re a great way to fuel your body with healthy ingredients first thing in the morning.
So, if you’re looking for a quick, easy and healthy breakfast option that will save you time in the morning, this recipe for freezer-friendly breakfast burritos is perfect for you!
Tips:
When it comes to making breakfast burritos, there are a few things you can do to make sure they turn out perfectly every time. First, make sure you cook the eggs until they are firm but not dry. This will help them stay in place when you roll up the burrito.
Next, add in your fillings of choice. We like to add some shredded cheese, diced onion, and diced bell pepper to ours. But feel free to get creative and add in whatever you like! Just be sure not to overstuff the burrito so it’s easy to roll.
Once your burrito is all filled up, tightly roll it up from one end to the other. Then wrap it in foil or plastic wrap and place it in the freezer. When you’re ready for breakfast, simply remove the wrapping and reheat the burrito in the microwave for about 1-2 minutes. And that’s it! A perfect, freezer-friendly breakfast burrito that’s ready whenever you are!
Conclusion & Recipe:
If you’re looking for a delicious and easy breakfast option that you can make ahead of time and freeze for later, look no further than the breakfast burrito! Breakfast burritos are perfect for busy mornings when you don’t have time to cook breakfast from scratch. Plus, they’re easily customizable to your taste preferences.
To make the perfect freezer-friendly breakfast burrito, start by cooking your eggs however you like them. Then, add in some shredded cheese and diced ham or bacon. Once those ingredients are cooked, it’s time to assemble your burrito. Start with a warm tortilla, then add in your egg mixture, some chopped veggies (if desired), and a dollop of salsa or sour cream. Roll it up tightly, then wrap in foil or plastic wrap and place in the freezer.
When you’re ready to eat your frozen breakfast burrito, simply remove from the wrapper and microwave for about 2 minutes. Enjoy!
Breakfast Burrito
Ingredients
Method
- How to make Breakfast Burrito filling
- Mix 6 eggs in a medium bowl with 2 Tbsp of sour cream. Season the mixture with salt and pepper. Mix in the ham strips and place in a bowl.
- Place 1 Tbsp of oil in a large skillet and heat on medium heat. Stir in the sliced mushrooms. Sauté until golden (5 minutes), turning occasionally. Season with salt and pepper, then take out the mushrooms.
- Heat 1 Tbsp butter in a skillet. Add egg mixture to the skillet. Stir/scramble the eggs until they are cooked through (about 3 minutes). Set aside.
- Assembling Breakfast Burritos:
- Spread 1 Tbsp of sour cream on the tortilla's center. Top it with 1/6 of the cooked eggs and shredded mozzarella cheese. If desired, add 1-2 Tbsp chopped tomatoes. Do not over-stuff them as they will become difficult to roll.
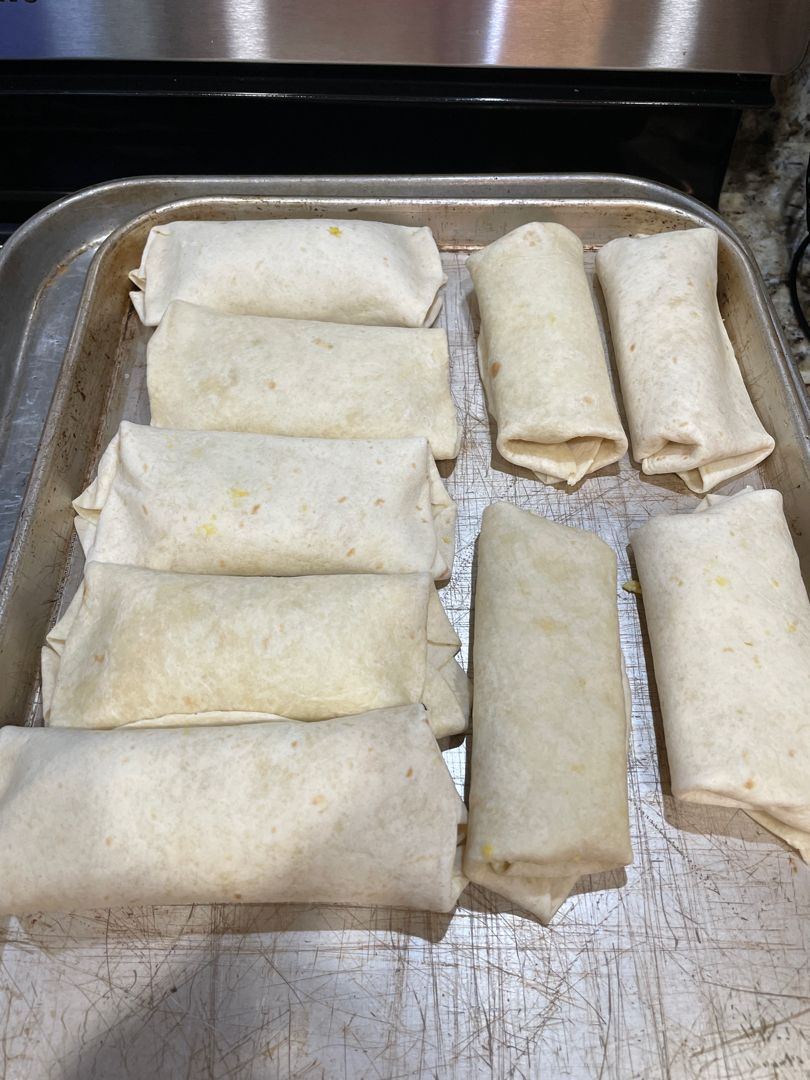
- Roll the burrito top-to-bottom. Wrap the top flap tightly over the filling. Fold the edges in tight and seal the seam with the bottom flap. Continue with the remaining burritos.
- To Heat Burritos:
- Heat 2 tablespoons oil in a large skillet on medium heat. Place the thawed or fresh burritos on a large skillet over medium heat. Fold them in half and cook on both sides for 2 minutes. Add more oil if necessary.