If you’re looking for an easy-to-make, delicious dessert that will be sure to impress, then look no further than this decadent Biscoff Cheesecake. With its creamy texture and sweet Lotus Biscoff flavor, this no bake cheesecake is sure to be a hit with everyone!
This No Bake Biscoff Cheesecake is the perfect summer dessert! It’s light, creamy, and has a delicious Biscoff cookie crust. Plus, it’s super easy to make and doesn’t require any baking!
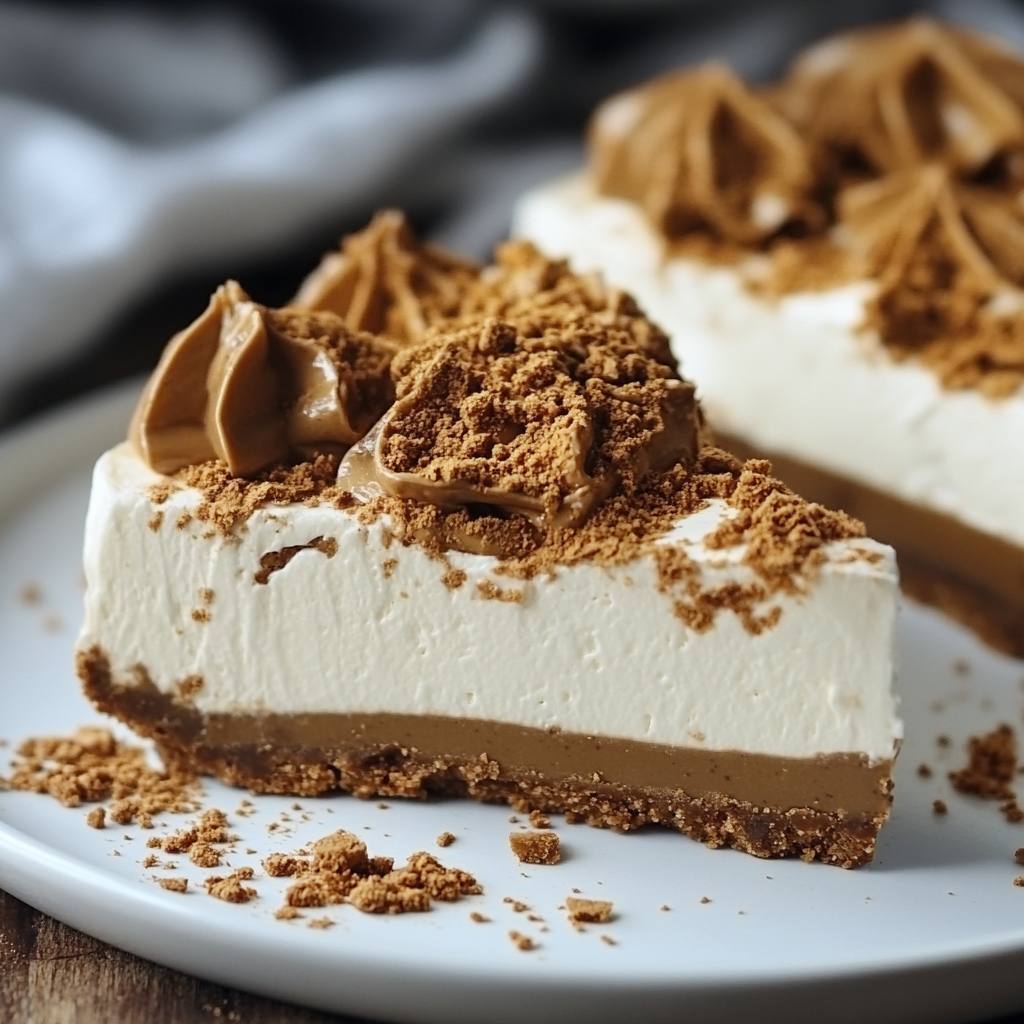
If you’re a fan of Biscoff cookies, then you’re going to love this cheesecake! The cookie crust is made with crushed Biscoff cookies, and the filling is a mixture of cream cheese, Biscoff spread, and whipped cream. It’s all topped off with more Biscoff cookies and a drizzle of caramel sauce.
This No Bake Biscoff Cheesecake is the perfect dessert for any occasion! Whether you’re hosting a summer BBQ or just looking for a tasty treat, this cheesecake will definitely hit the spot.
There are a few reasons why you should try this recipe for No Bake Biscoff Cheesecake. First, it is an easy recipe that doesn’t require any baking. Second, it is a delicious and unique flavor combination that is sure to please your taste buds. Third, it is a fun and festive dessert that is perfect for any occasion. Give this recipe a try today and see for yourself how amazing it is!
Tips:
1. Make sure your cream cheese is at room temperature before beginning this recipe. Room temperature cream cheese will mix more easily and create a smoother cheesecake filling.
2. To get the most flavor out of your Biscoff cookies, be sure to grind them into a fine crumb using a food processor or blender. This will help them to better incorporate into the cheesecake filling and create a more intense flavor.
3. If you find that your cheesecake filling is too thick, simply add a bit more milk until it reaches the desired consistency.
4. Be sure to let your cheesecake chill in the refrigerator for at least 4 hours before serving, as this will allow the flavors to meld and the texture to firm up properly.
Conclusion & Recipe:
This No Bake Biscoff Cheesecake is the perfect summer dessert! It’s light, fluffy, and full of flavor. Plus, it’s super easy to make and only requires a few simple ingredients.
If you’re looking for a delicious and easy dessert to make this summer, give this No Bake Biscoff Cheesecake a try!
No Bake Biscoff Cheesecake
Ingredients
Method
- Place the entire Biscoff cookie pack (minus 4 that you will need later) in a mini-chopper. Pulse until you get fine crumbs. You can use a tablespoon of the cookie crumbs later to decorate your cheesecake.
- Add the butter to the bowl with the rest of the crumbs. Mix until the crumbs look like wet sand.
- Place the crumbs in a springform cake pan lined with baking paper that measures 23cm (9inches).
- To create a smooth base for your cheesecake, press down on your fingers. While you make the cheesecake filling, chill in the freezer.
- Place the double cream into a bowl, preferably a chilled metal bowl. Whisk on medium speed until you get peaks. To avoid whipping too much cream, keep an eye on it. While you prepare the filling, chill the cream in the refrigerator.
- Make the cheesecake filling
- In a bowl, combine the cookie spread, mascarpone, vanilla extract, icing sugar and salt. Mix the ingredients together using a stand mixer or a hand mixer at low-medium speed. Continue beating until well combined. Use a spatula or a hand mixer to scrape the bowl's bottom and sides. Then, beat the mixer briefly again.
- Use a spatula or a whisk to fold the whipped cream in the cheesecake filling. The texture should be still thick and fluffy, but not runny.
- Place the filled tin on top of the chilled base. Level it with a spatula. Tap the tin on the counter gently to allow the filling to settle. Put in the refrigerator overnight.
- To loosen the cheesecake, use a hot knife to run around the edges of your tin. Then gently take out the cake ring. I use a cake lifter for this. The cheesecake should be frozen for at least 30 minutes.
- The remaining Biscoff spread can be heated in the microwave for about 30-40 seconds. Stir until smooth.
- Remove cheesecake from the freezer. Spread the Biscoff evenly over the cheesecake, spreading it out quickly with an offset spatula. Set in the refrigerator to set.
- Pipe the cream around the edges of the cheesecake. Decorate the cheesecake with the Lotus Biscoff crumbs, cookies and reserved Lotus Biscoff cookies.
- The cheesecake should be kept chilled until you are ready to serve it. Use a hot knife to slice the cheesecake.